I’m happy to say that we are actually to the point in this renovation where I don’t want to share too much in terms of updates, lest I ruin the big reveal. That, folks, is a good thing.
There’s actually a chance we could be done (OK, probably not with all the painting, but maybe) by Christmas New Year’s. I hesitate to even SAY it because it seems too good to be true. In fact it probably is. I probably just jinxed it.
But I thought I should catch you up on what’s been happening.
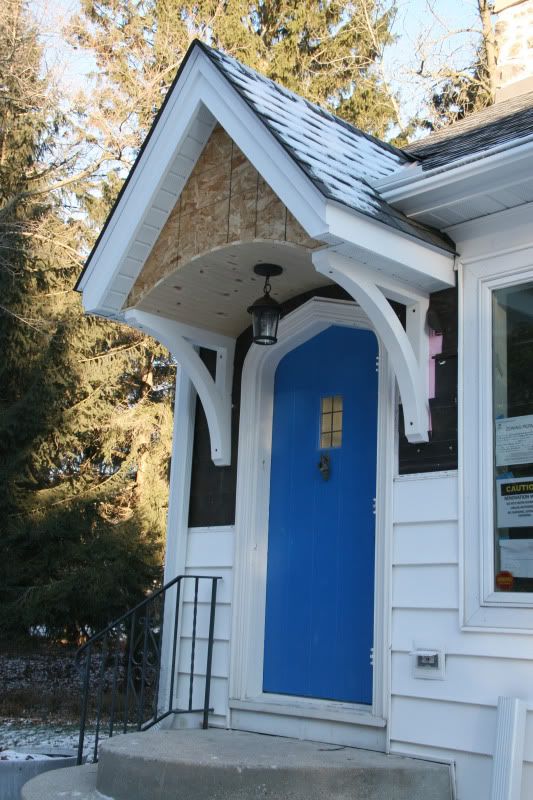
The 2x4s that held up the little gable over the front door have been removed and the brackets were installed. I’m very happy with how they turned out. We designed them and the GC had them built for us. The siding around them has since been replaced and the siding on the front of the gable is also finished. We’ve not stained the beadboard ceiling in it yet, because it’s just too cold for staining. We are actually thinking about going with a mid-to-dark stain vs. a solid white stain. What do you think? I’m thrilled with the new light there too, which was a pretty economical find.
 |
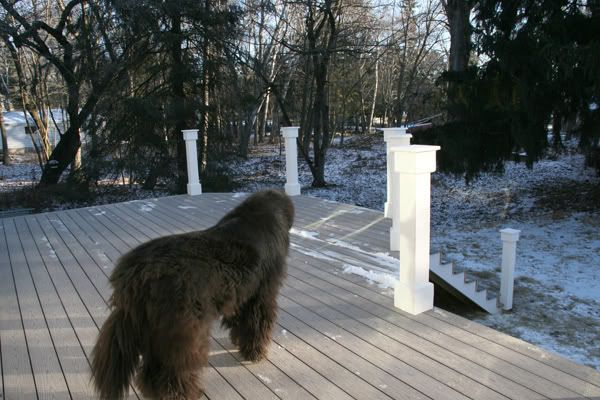
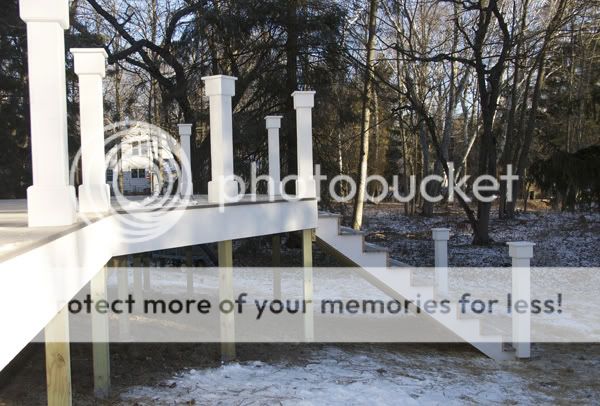
The decking, stairs and posts are all finished. Right now I think the posts look sort of ridiculous, but I’m hoping once we get the top rail on they will look better. We’ll be doing cable railings as well, but Mr. Much More Patient and I are doing those ourselves (we’ve had all the parts and pieces and two huge rolls of stainless steel cable sitting in our garage for about four months now), that may have to wait until spring to be finished.
Speaking of the top handrail, this is a good remodeling lesson. We really fell in love with the idea of a dark hardwood top rail similar to what you might find on ship. Unfortunately those suckers are expensive. The one we liked the most (ipe) was $10.50 a linear foot. Another one (garapa), which wasn’t the right color but we figured we could stain it, was $7.50 a foot. Another option (cumaru) was $5.50 a foot, but only came in a 4-inch wide version and we really wanted something beefier. Then our GC was at a local lumber store and he came across some handrail parts in a remnant bin. Turns out they were leftover from a large project and they had many more. Because we only need relatively short sections (the railing will go between each post, which is a design I’m sort of regretting, but it is what it is and hopefully it will look great), he was able to cobble together enough to do our smallish deck, for just $3.70 a foot. Score!
Perhaps the most exciting progress to report is in the new bathroom. The tiling is almost complete (there’s some that can’t be finished until the vanity counter is installed). Don’t pay attention to the paint colors in these pictures, because it’s all been changed … AGAIN!
Since these photos were taken the toilet and shower fixtures have been installed. Tomorrow the vanity and linen unit go in and as soon as that’s in we can finish up all the light fixtures (I really hope I measured where to put the pendants over the vanity correctly because there are some big holes in our ceiling), mount the mirror and work on getting the towel warmer up (I have a feeling that’s a complicated project). The glass for the shower has been measured and it MAY show up between Christmas and New Year’s but I’m not betting on it. And the vanity countertop seems to be but a distant hope at this point.
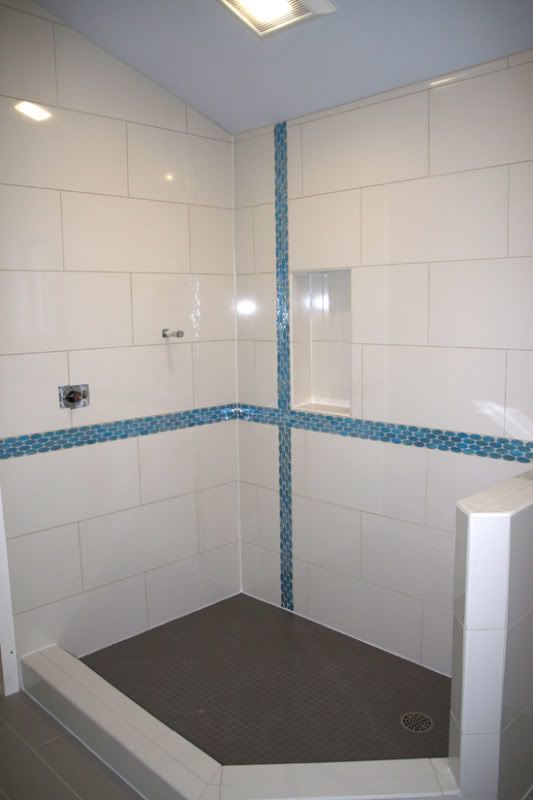 |
| The finishing touches for the shower will be a teak dividing shelf in the niche, a teak floor grate and a frameless glass enclosure. |
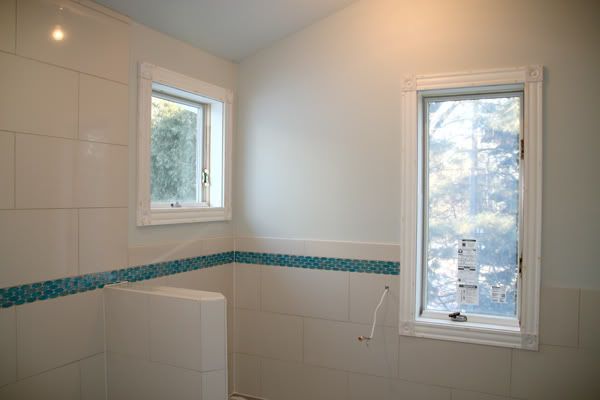 |
| The wall color has changed since this photo (the BM Healing Aloe was way too light, but I ended up using it on the ceiling) and the toilet has been added in the corner. |
We are clear to move back into the bedroom as soon as I finish touching up the paint and can eat enough Wheaties to get the mattress back up there, so we’re definitely down to the finishing touches at this point.
Want to see where we’ve come from? Here are all the old house renovation updates:
Construction Update 1
Construction Update 2
Construction Update 3
Construction Update 4
Construction Update 5
Construction Update 6
Construction Update 7
Construction Update 7.5
Construction Update 8
Construction Update 9
Construction Update 10


7 Responses
It's getting really exciting! I can't tell you how much I now enjoy our bathrooms; from 50s flaws to everything works and looks good. It's a great feeling. And that deck is going to be fabulous. I am betting that folks will sit on the steps and enjoy the garden from there at parties as well as from the deck proper.
It's looking fabulous!!! I particularly love your front porch area, it has sooooo much gorgeous character!
I am Glad i found this website.Added theimpatientgardener.blogspot.com to my bookmark!
Thanks, Lindsey and Beth!
Randy, thanks for stopping by the blog and thank you for the great tip on waiting to stain. So how long does it take for it to sufficiently dry out where it's safe to assume that most of the shrinkage is over?
Erin,
First time visitor and a builder as well. This remodel looks great! The stoop is lovely. Might wait to stain the beaded board as it dries it shrinks, if it shrinks after you stain it the groves might show unstained material. I like to pre stain before installing, not very easy to do this time of year.
Wow, looking good! I can't wait to see the final results! 🙂
WOW! What a great job! BTW — I still LOVE your blue door!