I have great news: progress is being made on the office redo (mentioned here, here, here and here). I stopped updating you guys on it because it got downright depressing when I was having so many problems with the counters (sadly mentioned here, here and here).
Rather than wait until it’s all finished and show you it all at once, I thought I’d break out a couple of the projects and tell you about them first.
If you recall, the goal was to update my outdated, dingy and totally uninspiring office at work on a shoestring budget. Since I spend more time in this space than any other, I didn’t mind putting a little bit of my own money and a lot of my time into fixing up this space. While I was planning the space, I was struggling with what to do in the “backsplash” area, and it was reader Robin from Three Acres & 3,000 Square Feet who suggested a fabric covered bulletin board. What a great idea.
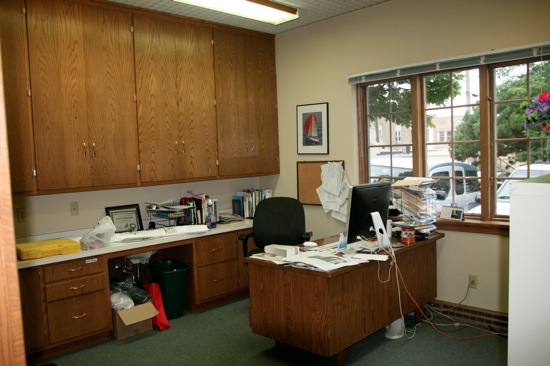
Here’s the old office looking like a total junk yard. Which it pretty much was. Below is a mock-up of the vision for it.
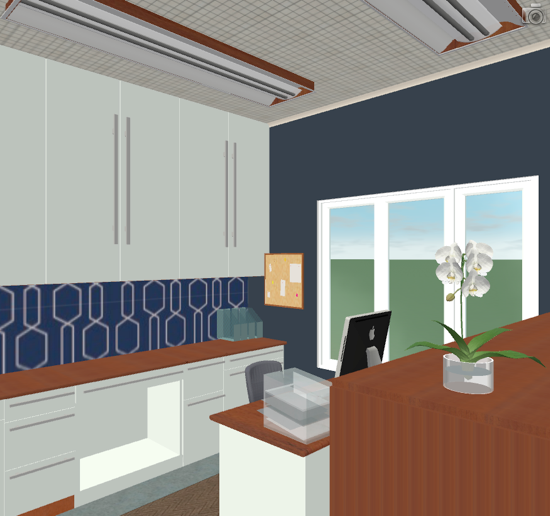
Functional and beautiful, not to mention much easier than wallpaper or some kind of fancy paint treatment.
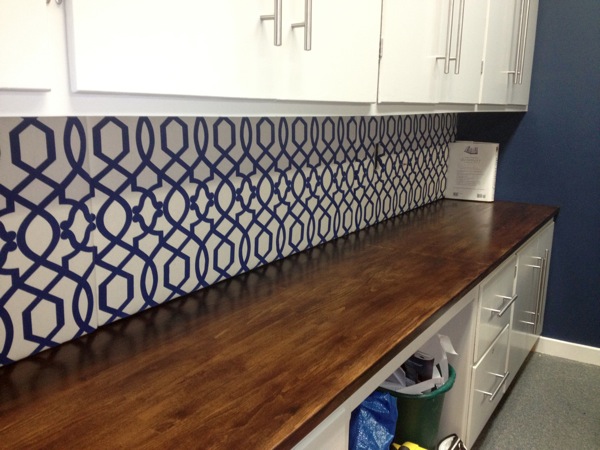
So I made these fabric covered pinboards that might just be the best part of the whole room.
I started with Homasote handipanels because they work great as a pinboard. These are pressed fiberboard used for soundproofing and crafting. I had never heard of them before I started researching this project on the Internet (pretty much no matter how self explanatory a project may be, I start with Google). I was hoping to have these cut in the store because they can be really messy to cut, but the place I bought them from didn’t have them. Fortunately they are really easy to cut with any kind of saw including a regular drywall hand saw.
Because I was covering such a long area, I had to use three boards. I also had outlets to contend with, so once I had the boards cut to size, I needed to mark the location for the outlets. Of course you can measure this, but I’m going to be honest here: I’m horrible at measuring. Well, I can measure, but somewhere along the line, things tend to get lost in translation. So I marked the outlets in a way even I can’t screw up (this works with drywall too). With the outlet covers removed, I covered the actual outlets with a bit of painter’s tape.
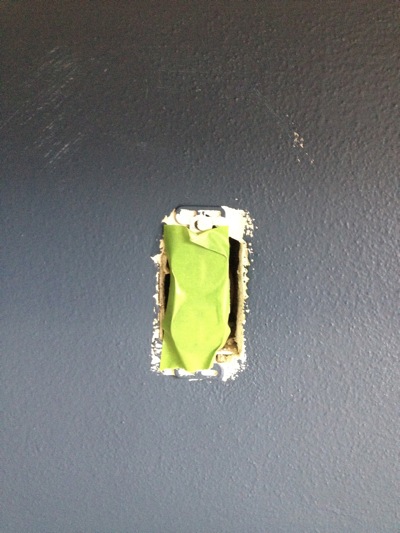
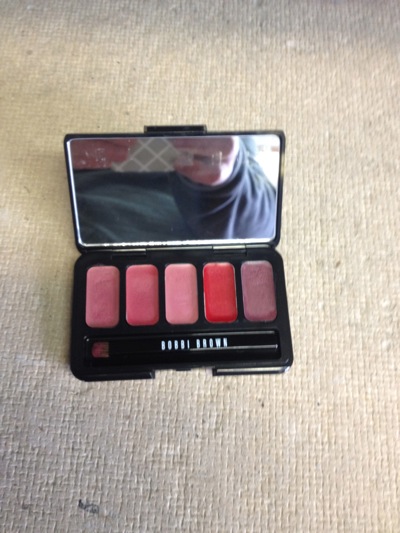
Then I grabbed the little lipstick palette I keep in my desk for emergencies, and picked the bright red color that I will never, ever wear, and brushed it on the tape over the actual outlets.
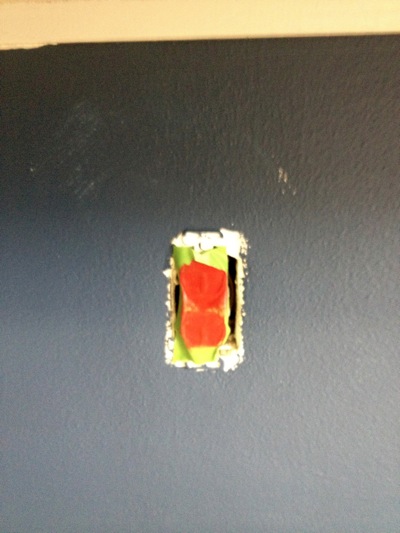
Then I lined the board up and pressed it against the tape so the lipstick would mark the board.
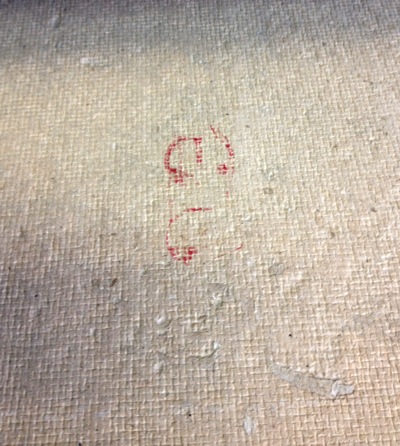
After the board was marked, I lined the outlet cover up with the lipstick mark and used it as a template to mark the area I’d need to cut.
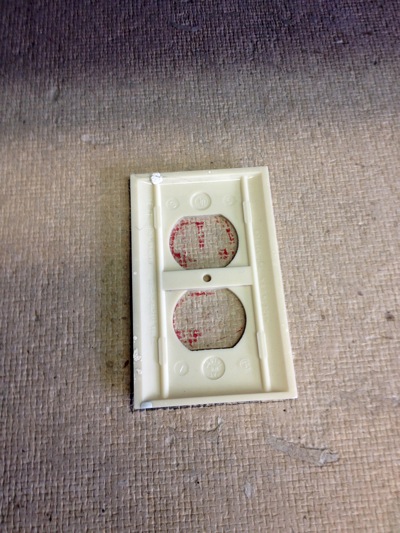
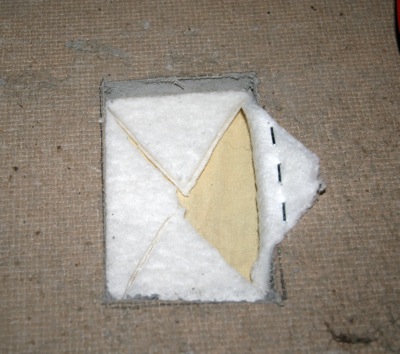
Once I cut the outlet holes, I stapled two layers of thin batting on each board. For the outlet holes I cut an X and stapled around the hole.
The hardest part of this project by far was lining up the pattern. If I had used a solid fabric I could have knocked a good two hours off, but, of course I didn’t. I used a heavy upholstery fabric with a flocked velvet pattern that I picked up on sale from Calico Corners a couple months ago (Sultana Lattice from the Iman collection). I ended up needing two yards, but only because I had to match the pattern. I could have gotten away with a yard and a half if pattern matching wasn’t an issue.
Here I was getting a general idea of where I would cut for each piece.
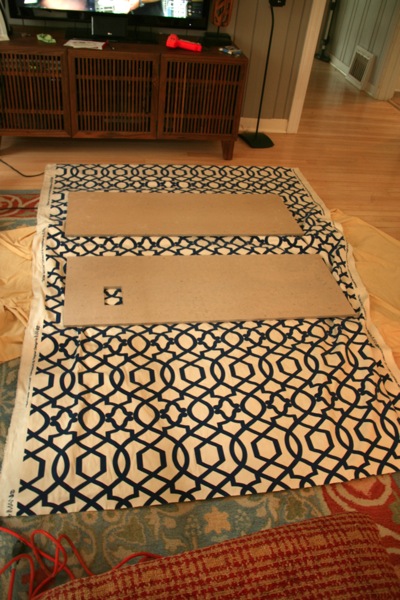
I had to line up the fabric not only so it was straight on each board, but so that the pattern matched up from board to board, giving the illusion of one long board. Mostly this just took some trial and error but it was pretty tedious.
Stapling the fabric to the boards was about as simple as it gets. I just made sure I was keeping equal tension on the fabric as I pulled. The only slightly tricky part was the corners. For those I just pulled the fabric tight across the corner and put in one staple.
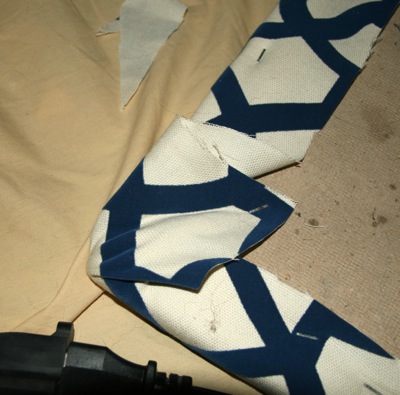
Then I cut the excess fabric off and folded it over as neatly as possible and put a few more staples in.
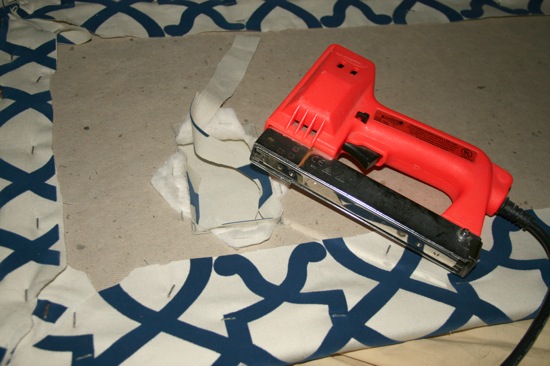
I wanted to velcro the panels to the wall so I wouldn’t damage the wall but the batting made that difficult. I took a furring strip we had leftover from something, cut it in pieces and hot glued it to the back where I wanted to attach the velcro. Then I just stuck it to the wall.
You can see where the seams are, but I think I did a pretty good job lining up the pattern.
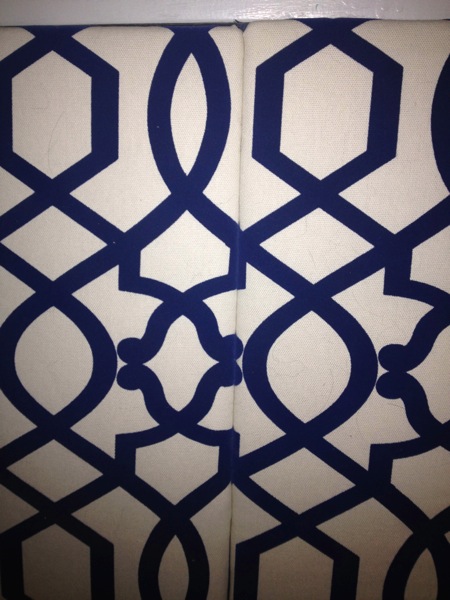

I’m really happy with how it turned out. Not only is it beautiful and spices up the place a bit, but I have a convenient place to hang notes (although I’m trying hard not to clutter it up). And an added benefit that I wasn’t expecting is that it added a bit more soundproofing along that wall.
I spent about $30 for the Homasote boards. The fabric was a bit of splurge at about $45. Certainly this is a project that could be done very inexpensively by keeping the size of the board a bit smaller and by choosing a less expensive fabric (burlap would be very cool).
* Unfortunately it seems that if you go to a direct link to an old post you can’t view the comments, but if you look at it on the general blog page you can see them fine. I’m sure this has something to do with adding the new comment form. I’m hoping I can get it fixed but in the meantime, sorry for any inconvenience.

