There is remarkable satisfaction in seeing how a garden project plays out down the road. I recently revisited a pair of Clematis ‘Little Bas’ that I planted in large 24-inch square containers in 2020 and what I found was illuminating.
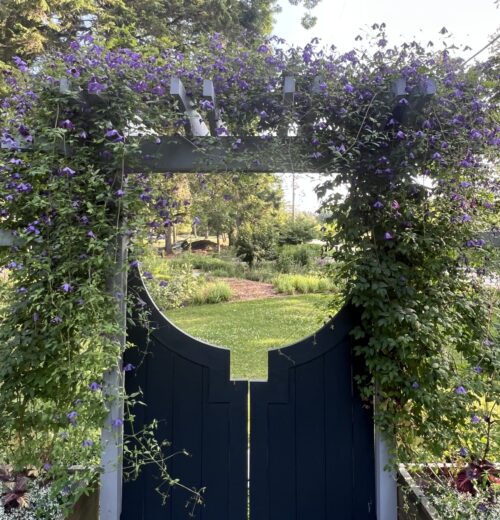
The Clematis have been living their best lives in two container flanking the vegetable garden gate and grow over an arbor at the entrance. I chose to plant them in containers mostly for aesthetics: the wood planters just looked nicer on the gravel base of the garden, provided a little boost in height to make sure they covered the arbor, and gave me the opportunity to plant a few annuals in with them.
Like many plants that have been in containers for some time, they were sinking in their pots and I knew they would appreciate some fresh soil after four years in the containers.
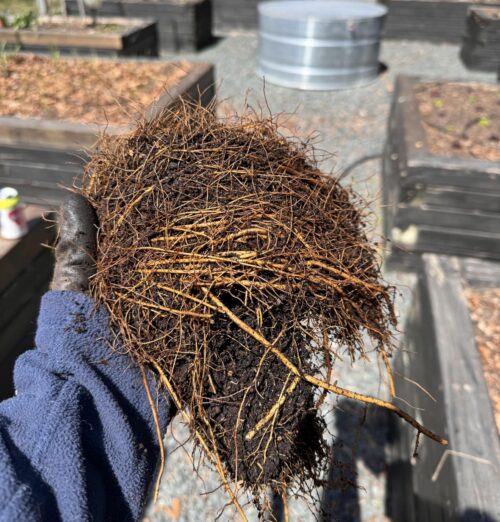
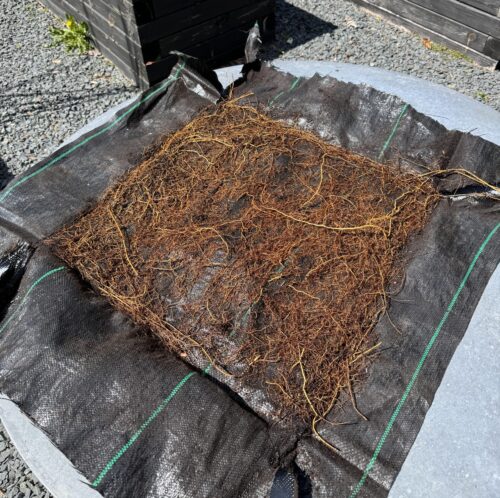
But when I dug in what I found was a mass of distinctive yellow Clematis roots filling the entire planter. After fighting with it for hours I considered giving up and letting them stay in those to fend for themselves. But when I consulted Dan Long at Brushwood Nursery, where I buy all my Clematis from, I got confirmation of what I knew deep down: the job had to be done.
It’s not uncommon to pull long-term containerized plants out of their pots, root prune them and the repot them, it’s just that sometimes that process is a bit easier.
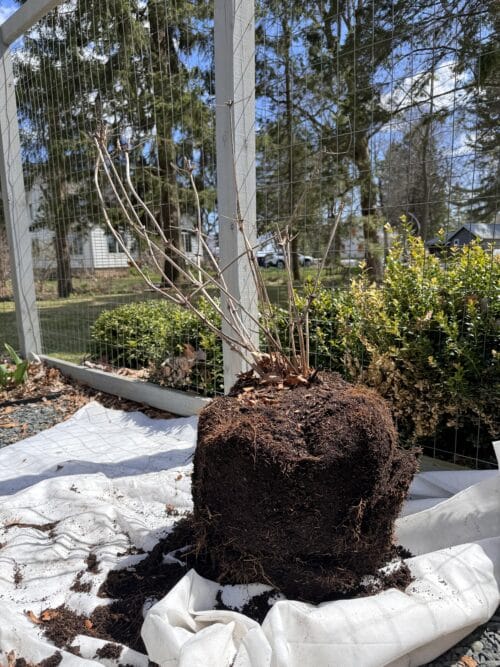
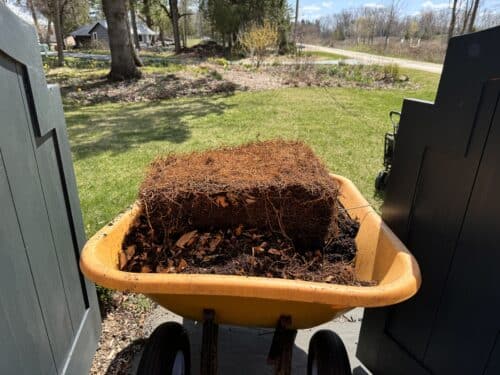
Using a serrated knife, hori hori, garden fork, and a bit of help, I cut a very large root ball—about 18″ across and deep—out. And then it got interesting.
Planter revelations
After removing the root ball, the problem became clear. I’d added two things to the pot when I originally planted it, first with roses and then with clematis the following year. I lined all sides and the bottom of the pot (which was wood slats) of the pot with foam insulation board so that the soil wouldn’t make contact with the pot, and to add additional winter protection. I also lined the bottom with landscape fabric, with drainage cut through both the fabric and the bottom foam board.
I can’t believe I used the landscape fabric, which I detest and advise against using in just about every situation, but I did. And the clematis roots grew straight through it, as weed roots do when it is used on the ground. This made it extremely difficult to remove from the pot as it was firmly attached.
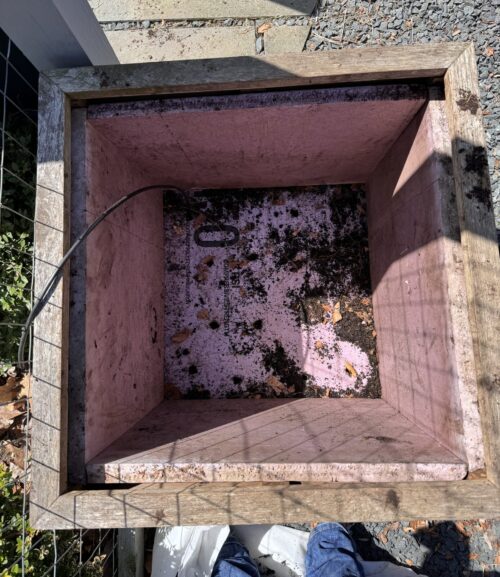
While the fabric was a terrible idea, the foam board seems to have been an excellent idea. The relatively inexpensive pots were in excellent shape with no sign of wood rot. It’s a trick I’ll use again if the circumstance calls for it.
Repotting
Clematis love rich, well-draining soil that stays consistently moist. The adage “feet in the shade, head in the sun” that is often cited when planting Clematis is really a way to get the point across that they want moist soil at their roots. I used a combination of Organic Mechanics Premium Potting Blend, which I like to use for trees, shrubs and perennials in pots, compost,Biochar Blend, worm castings, and a handful of bone meal for the mix. (Organic Mechanics provided the soil.) It sounds like a lot, but when you consider that these plants will be living in that mix for another three or four years, it makes sense.
I had previously pruned the Clematis, which were a group 3 type, meaning that they bloom on new growth, so I didn’t have to worry about that, but I did add some Espoma Rose-Tone, which is my go-to Clematis fertilizer.
It was interesting to see how the these plants had fared over the years, but I’m glad I won’t have to do that job again soon.
Want to watch the whole saga play out? Check out this video: